
Jan 14, 2023
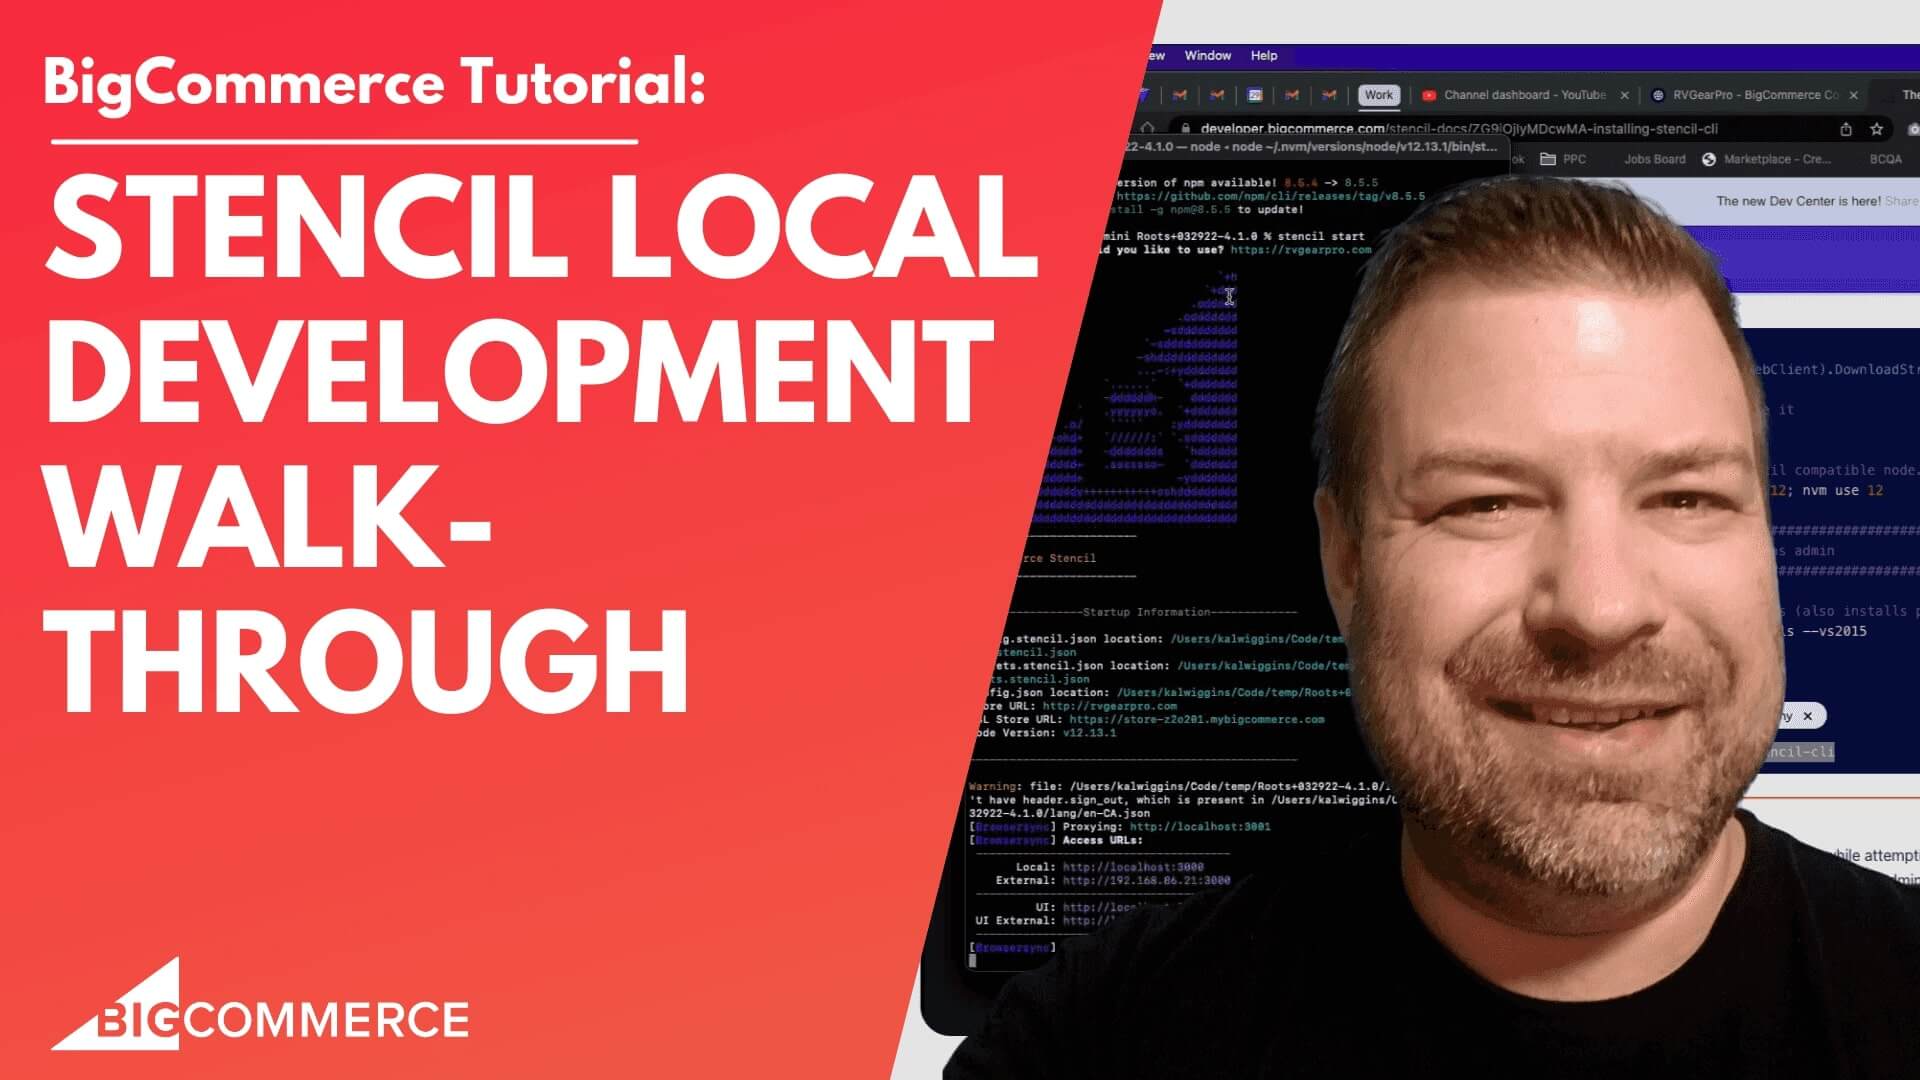
Stencil Local Development - Walkthrough
Alright, stencil local on big commerce, you've probably been hearing about it. If you are looking at this video, maybe you're thinking about developing on big commerce, maybe you're trying to get it to work and it's just not working for you and you want to see what is what does it actually look like? Is it working? I'm going to run you guys through how it works in this video, and a little bit about the install, but you'll be able to see it in action and kind of get your head wrapped around what stencil local development. What the heck is this thing? All right. So first of all, my name is Kal, I'm a developer. I'm a store owner. And I run the E commerce growth community for store owners just like you and me. And if you find this one helpful, you know, I post more ecommerce videos every week. So subscribe, it hit the bell, you can see more stuff like this.
All right, let me share my screen and we're going to dig into it. Okay, so first thing that we do, well, first thing that we have to do is we have to create an API account. And to get there in your big commerce store.
First of all, you have to be logged in as the store owner. And only the store owner can create an API account. So if you're logged in as the store owner, great, if you're not, you know, if your client is a store owner, then have them log in and do this for you. You need to go to Advanced Settings, and then API accounts, and then create API account, create stencil CLI token. So when we do that, I'm going to call this cow and you want to click publish, if you want to be able to push from local to live. If you don't do this, you can still, you know, make your changes live, but you're going to have to bundle it, save it as a file, and then manually upload it to the theme or to the store.
So usually, people are just going to want to get published rights right here and click save. Now it's going to give us a couple things. First of all, it gives me a text file here. And it also gives me this terminal Quickstart thing right here. So I'm going to actually copy this, but you can do the exact same stuff here off of the text file. And maybe I'll show you both of those ways.
What we're going to do next is we're going to go to storefront. And then themes. And you need to download a copy of the theme. Now, if if the theme that's here is the like the base, the base version of the theme that you're going to work on, right, you can't edit that. So you're going to want to start out by making a copy. And I would usually call it something that makes sense. So I'm going to just rename this to, you know, I'm just gonna rename it to the date of this video, hopefully,
I'm not dating myself, if you guys are watching this in like five years, and it's still relevant, that's amazing. So I'm going to rename it. And then what I'm going to do is I'm going to download the current theme. So I want a copy of this on my computer. That's going to take a minute. So while it's doing that, I have opened up a terminal here on my Mac, if you're on a PC, obviously it's you know, opening up your folder, whatever.
And hey, before we do that, actually, let's look at the theme doc. So if if you're trying to install stencil CLI, I'm not, I'm not going to show you this because I already have it set up on my machine. But you're going to want to go to these instructions here that Bigcommerce puts out. Just Google installing this Google stencil CLI big commerce and it'll come up with this page. And basically, this page will tell you, you know, if you're installing on Mac, or if you're installing on a PC, if you're installing on Linux, if you're installing on whatever, these are the directions and I'm on a Mac.
So when you come into here, there's Mac instructions right up here. Now if you are on a Mac M one chip, these instructions don't work so good right now because m ones and ones are a little bit problematic from a code standpoint. So they have additional instructions down here saying to use the Rosetta terminal, install it and they do say to install 12 I will say that 12 latest has not worked for me 12 point 13.1 totally works at the time of this video. Maybe something newer by the time that you're watching it but if you do have it in one ship just tried 12 point 13.1 But install it in a resented terminal as it says right here.
If you're on Windows gives you alternate instructions. And so long story short you need to install node you need install Python if you're not on on Mac, and you need to install the stencil CLI library.
So once you follow all these instructions, then you're ready to actually do something. So I have a folder here, I just called it temp. And what I'm going to do is I'm going todrag the theme that I downloaded in here, and look, there's a picture of me.Okay, so I have the folder that I downloaded. So this is my template file, right. And if you're just here to see how it works, don't worry, I'm not going to get any more nerdy than what I've already gotten, right? So I'm going to come back here to my terminal, and I'm going to look at it and it says, Okay, you have this routes subdirectory. So I'm going to actually browse into the root sub directory. And you can see, okay, here's all my files. Great.
So what I need to do now I'm in the folder that has my stuff in it, I've installed all the prerequisites, and I've installed this stencil CLI library. What I need to do now is first of all, stencil it. If you're looking at this and you're on your machine, you can type stencil, and it should tell you all these commands, if you type stencil, and it says I don't know what that is, then something has gone wrong with your prerequisites, maybe rather on node and maybe you know who knows what, but again, you want to be would dash v four point 13.1. That's working for me on a one chip.
Alright, so stencil shows me that I have stencil loaded. If I do stencil in it, then it says okay, what's the URL of your homepage and etc, I'm going to Ctrl C to get out of that. And I'm actually going to just Ctrl V to paste in that stencil init command that it gave me when I while I guess I don't have it up anymore. But it gave me that when I generated the API key if you remember, and I just copied it into my clipboard. So if I hit OK, then it automatically, you can see it automatically has the token. And it automatically has the URL. So now all I have to do is say, you know, what port do I want it to run on, always choose 3000. If you if you already have 3000 being used by something else, maybe turn it off.
Because just you know, going standard is always gonna be best, you don't want to have to remember what ports are on later. So, you know, all I had to do is type 3000 At that point, and now it's ready to run. Now, if you didn't copy that stencil init command, then what you can do, I'm just going to do it from scratch is you can hit stencil in it, and it'll tell you, Okay, what's the URL of your homepage, and you can put in your public URL right here. Or you can put in your permanent URL, which you can find in the back end up here in your address bar. I'm going to just leave it as RV gear Pro, which is my store. And the next question is going to be, you know, what is your stencil access token. So if you didn't copy that thing that I did, then you can open up the text file that downloaded and copy it from this line right here access token.
Now all the other stuff that's in here, you don't really need. If you ever do need to know like what your your store, what do they call it, your store, your permanent store. Store hash, your store hash is located right here, but you don't need it for the purposes of this. So what you'll do if you're doing this, without this stencil in it pasted command, which is just really a shortcut to put all this stuff in, just take this access token, paste it in here in the second prompt, then you it's going to ask you what API you want to use, just leave that as default and then again, tell it 3000 just by hitting the enter key because it's already got 3000 filled in, and then you're in the same spot that I'm in, you know, had had, you know, having used the stencil in a shortcut that I pasted. All right. And by the way, I'm gonna invalidate this code right after this video. So don't try and use it. It's not gonna work, you guys.
Alright. So we have done the prerequisites. We've created our API key, we have ran stencil in it right? And now it says you're ready to go just hit stencil start and what's gonna happen is this is going to say and it's not working and here's why you got to hit npm install. So this is going to install the dependencies into the folder here. And this will take a minute or two is looking hard and you guys just want to tap out you know, you can always reach out to me and my team and we can do development for you. So this this intermission brought to you by Epic design labs. All right, let's give this just another minute here. A lot of people would just kind of cut this out of the video, I'd rather just let it run so you guys can see about how long it will take. If you're still in the Rosetta terminal, it may take longer because result it takes longer to run stuff, you only need to be in the Rosetta terminal on the Mac and ones when you initially load, node, and stencil.
After that, you can just use the normal terminal and it'll work just fine. And the only reason I got super deep into the Mackie stuff right now is that the M one chip is problematic. And it will take you a while to figure it out. So I'm just trying to save you guys some time, if that's what you're, if that's what you're running for your computer. All right, so our MPM is installed, we for instance, and run it and at this point, we can do stencil start and it's short. Alright, so in this case, I at some point had two channels on here.
So I'm going to use the RV gear pro channel, because that's what I want to edit. And now if everything goes right, you should see a screen that looks like this. And it'll show you this big B for big commerce. It'll say some stuff, blah, blah, blah. And it'll come down here and say, Here's your local host address.
And I can command click on this, I think or command double click, it'll open it up in a tab, localhost 3000. And you are seeing now the RV gear pro website, ran on my local host, connected to the the theme that I downloaded. So it's running the theme, it's on my hard drive. But it's connecting to big commerce to stream in all of the product data, all of the category data.
So if I made a change here, my categories and I refreshed it, then it would automatically refresh here because it's pulling from the live data. But that's also going to make that change live on my live site, right. And the whole point of local is to be able to develop a code locally and then push it up when it's ready. So let me show you kind of how that works. First of all, I'm going to Ctrl C out of this, and I'm going to hit gonna just open up my IDE, which is Visual Studio code.
And I'm going to just turn my stencil start back on here in the command, I can you can you know just the same run all these commands, you can do your stencil in it, your NPM, install all that kind of stuff within the terminal in Visual Studio code, if that's what you use.
For the sake of this video, I'm just gonna run it here and show you guys some code editing in local so you can see kind of how this works. If you if you're a developer, you probably already got what you need. If you're not a developer, and you're hanging on just to figure out what the heck is this local thing? Let me show you. So imagine, we want to we want to make a change here like say, say here in the header, we want to give it a background color, for example. I might not able to select it.
All right, so let's say this right here, header logo wrap, we're going to write a little bit of code here that just says background equals gray. But I don't want to make it that gray. So I'm going to click the little thing and just kind of make it a little bit lighter gray. So let's say that's the change that we want to make, right? And get out of here. Oops. That's what I want.
So I want to make this change here. So I'm going to go back to my IDE. I'm going to paste that into my CSS file. I don't have first of all, you should have a custom css file if you're gonna edit, but I'll make a different video about that. So for this video, I'm going to just say you know, down and dirty I'm going to paste this into my theme SCSS but again, that's not super recommended, but here we are.
So we have this saved in our theme SCSS and again, this is the theme that is local and I saved it. Let's say I want to put another code in here that just says the background is pink. And I click Save. Right. So what's going to happen?Doesn't always refresh quite right. But I'm going to come back here to my local, and I'm going to click Command R, or Ctrl, F for or I'm sorry, Ctrl f5, on PC.
And you can see that it automatically updated that to pink. So I saved it here on my computer saved it to pink. And when I refreshed this local version, it automatically has the change applied. And that's because this window over here is constantly looking at the folder to see if any changes have been made.
And if the changes are made, then it's automatically going to update that in the locally rendered version of this, right. So what you can do if you're coding here is, you know, code, whatever you want to get this exactly how you want it. Let's say it's going to be orange now. And you can see it just saw that file uploaded. And this time, it did actually update in my local without me doing anything, which is really what you want, right.
But let me take out the pink and orange because those looks crazy sauce and go back to the Eee. And let's compare this to the public version of my site. So if I come back here to my big commerce store, and click View, storefront open RV gear Pro, then this is the version that is currently live to the world, white hat her.
This is the version that's local, right, so you see the difference. And so on the local version, I'm seeing the changes that I've made locally on my computer, but they haven't been pushed live yet. So what if we get to a point where we go, Okay, it looks good, it feels good, I'm local. And I want to go ahead and apply the changes, here's what we do is we come back here to where we are serving the local version of it, we hit Ctrl. C to stop the server. And then we look at these stencil commands, and we go, okay, there's this stencil push right here.
And this is going to automatically bundle the theme and upload it to our store. Now again, if you didn't have the publish flag on your API key, then you won't be able to do this, you'll only be able to bundle it. And that'll download a zip file. And then you could manually upload the zip file. But because we chose publish, we can use this stencil push command.
So I'm going to go stencil brush. And it's going to start to bundle it what bundling means is going to put it all in a zip file, and it's going to minify, you know, a whole bunch of the JavaScript and CSS files, as is recommended by big commerce to you know, just create a small file size, and run nice and lean and mean fast. And this is going to take just a little bit, little bit meaning, you know, 15 to 30 seconds, most of the time, I would say if it gets stuck here, you know, you might need to do some troubleshooting, and some googling on why it didn't go. But that doesn't happen very often.
Especially not if you've if you've already worked on a theme file before for this store. Usually, if it gets stuck, it's because you know, maybe you didn't have something right and your API key. Alright, so it finished processing the theme. And it says, Do you want to apply this theme to your store? And I'm gonna say yes. Okay, which store? Because I have two, two sales channels.
This is a little bit annoying. But you know, big commerce is called multistore. So this is totally awesome that, that they're giving me the annoyance of having to choose the channel. If you don't have any other store setup, at least at the time of this video that it's not going to ask you to choose one, it's just going to say, Well, there's only one, so don't have to worry about it. Which variation would you like to apply in this theme, there's only one variation if you're on Cornerstone, there's like light, dark and something else.
I always recommend, you know, just if you're if you're customizing it, first of all, Cornerstone is the best thing to build on period. And just always start from the light because it's always going to be the first choice and you don't have to remember anything. But in this case, there's only one choice because I'm using this routes theme. So I'm going to just hit OK.
And if I come back here to my themes, remember this is the this is the file that I saved all 32922 And if I come back here and refresh this page, we should see a new themeI see Oh 329221. And maybe I didn't, I think I did click to apply it looks like it didn't apply it for some reason. Maybe I don't know.
But I can click to apply this right here.And so now I've just applied the new version of the 32922 that I uploaded. Now, because I had the same name as the one that was there already, it added a one here. And it's just going to keep on incrementing. If you keep on adding more and more, I'll show you how to change that here in just a second. But now that this is live, if I come back to the front end, and click refresh, we should see the light gray background, which we do, just like that.
So now my publicly viewable store matches my local store, as you can see, and let's just make one more change, and then I'll show you, I'm going to put that orange on there just to make it look crazy. When you make these changes, you do need to make sure to save it so that it's saved locally so that when it gets bundled, it actually has the changes reflected. So I just clicked save.
And I want to go ahead and update the name of the theme. So what I'm going to do is I'm going to open up my config dot JSON. And right up here at the top is the name of this thing. So if I was going to change the date, maybe you know, oh, it is March 30. I'm doing this like at midnight. So I'm going to change this to be March 30, right. And I'm going to click save here. And I'm going to do one more push. And this time, I'm going to Yeah, let's just do this stencil push.
This will take just a minute, just wanted to show you the config dot JSON changing the name because I do think it's good practice to update the name every time you push a new version, I highly recommend you date it so that you can, you know, if you need to roll back to a prior one, it's pretty easy to figure out which one is the prior one. Because sometimes they can get out of order in the back end if you need to roll back.
And this will just save you a lot of time. Just you know, always, always include the date whenever you upload a new one. And yeah. All right, I said I didn't want to get too techie. But you know, I'm just trying to show you guys you know what it what it really is to be able to change things locally, and then push them like this. I'm gonna say yes, apply it and apply it to the RV care Pro.
And yeah, alright, let's look into the backend. Again, I'm going to click refresh.didn't apply at that time, either there might be a bug at the time of this, recording this just for some reason not applying these to the to the live store when I say to a plant. So that's a new thing. I'm sure that'll be fixed here pretty quick.
So I'm going to go ahead and just apply the one that matches the data I just uploaded. Just like that. And if I refresh it on the front end, sometimes it can take, you know, 30 seconds for a new theme to actually take hold. But you can see now I got this lovely, lovely orange header. So that's kind of what Google Local is, you know, if you guys, like I said, if you aren't Cody pologize for the cloudiness.
But I wanted to show you guys enough to kind of let you see what the heck this local thing is. Now, you know, why did developers use it? Because I can code things on your site and only push them when they're ready to be seen. If you don't do this, then somebody's coding on the fly. And they're going to make changes that you know, could wreck a page or you know, wreck your site from loading. And that's obviously very, very messy. And if you actually have a customer looking at your site, when that happens, you know, it's a construction zone.
And that's not cool. So it's really good practice to develop locally push when it's ready. And what's nice is that every time that you push, it creates a new version of the theme in the background in the backend of your theme, so it's it's kind of like every time they push it creates a new backup, I guess, if you want to look at it that way, which is really nice. But this is how it works. It's also very, very faster to code this way compared to coding in the stencil Theme Editor.
You know, which takes a good 30 seconds to update whenever you update something. And like I said can break pages while you're coding which is not VA and now this is like just better better in every way. So that's what it is. Appreciate you guys watching and be sure to hopefully you guys found this helpful leave me a comment if you did give me a like if it helped you.
If you guys are stuck on anything else, leave me a comment let me know what you're stuck on. That might be my next video, as I mentioned, you know, I make videos every week for you guys and I want to, you know, really encourage the big commerce community to you know, go further faster. So be sure to join my community at join e commerce growth.com. If you need a developer first to work, consider us at Epic design labs. And I'll see you guys on the next one. Thanks