
Jan 14, 2023
How to Upgrade Your Footer Columns to Page Builder Fields
Hey, in this video, I'm gonna show you guys how to convert one of your footer columns into a widget field. This is really cool. If you feel this is too much for you, you can always have a developer do this for you. And the whole point of doing this is to convert these footer columns into something that you can change really easily, or your employee or team member or neighbor, or cousin or whoever can change these floater items in your footer without being a developer and without screwing everything up.
I'm gonna show you guys super easy how to do this. So on this, on this demo site, I just have plain unvarnished Cornerstone showing, you can see that it has, you know, a really terrible looking footer by default, it doesn't have to be terrible.
But moving on. So let's say we want to change up our navigate and our categories and our popular brand to be linked so we can easily change our selves, let me show you how to do it. Number one, you're going to want to get not so subtle plug my app epic page builder widgets. This is what I'm going to show you guys how to use is a free widget that's in this so you don't even have to pay to do this. But there are some cool premium widgets you can pay for like our accordion.
In the plug, what we're going to use is the custom menu widget. So when you get it slide this over to install the custom magic, custom pink, you have the custom menu widget into your store. Alright, so let me show you we're going to go into the code. And it's going to be a brief trip, we're going to click into storefront themes, edit theme files of your currently live theme. And now this the exact location where you're going may vary if you're using some you know, Billy Bob theme Mafa, who knows what's it.com.
It could be wherever most of you guys are running cornerstone, which should be Cornerstone is really the flagship, it's what you want to be on. So I'm going to show you where to get to this in cornerstone and just know that the location might be a little bit different where you're going, but it should be you know the same technique, right? So you want to templates components, common
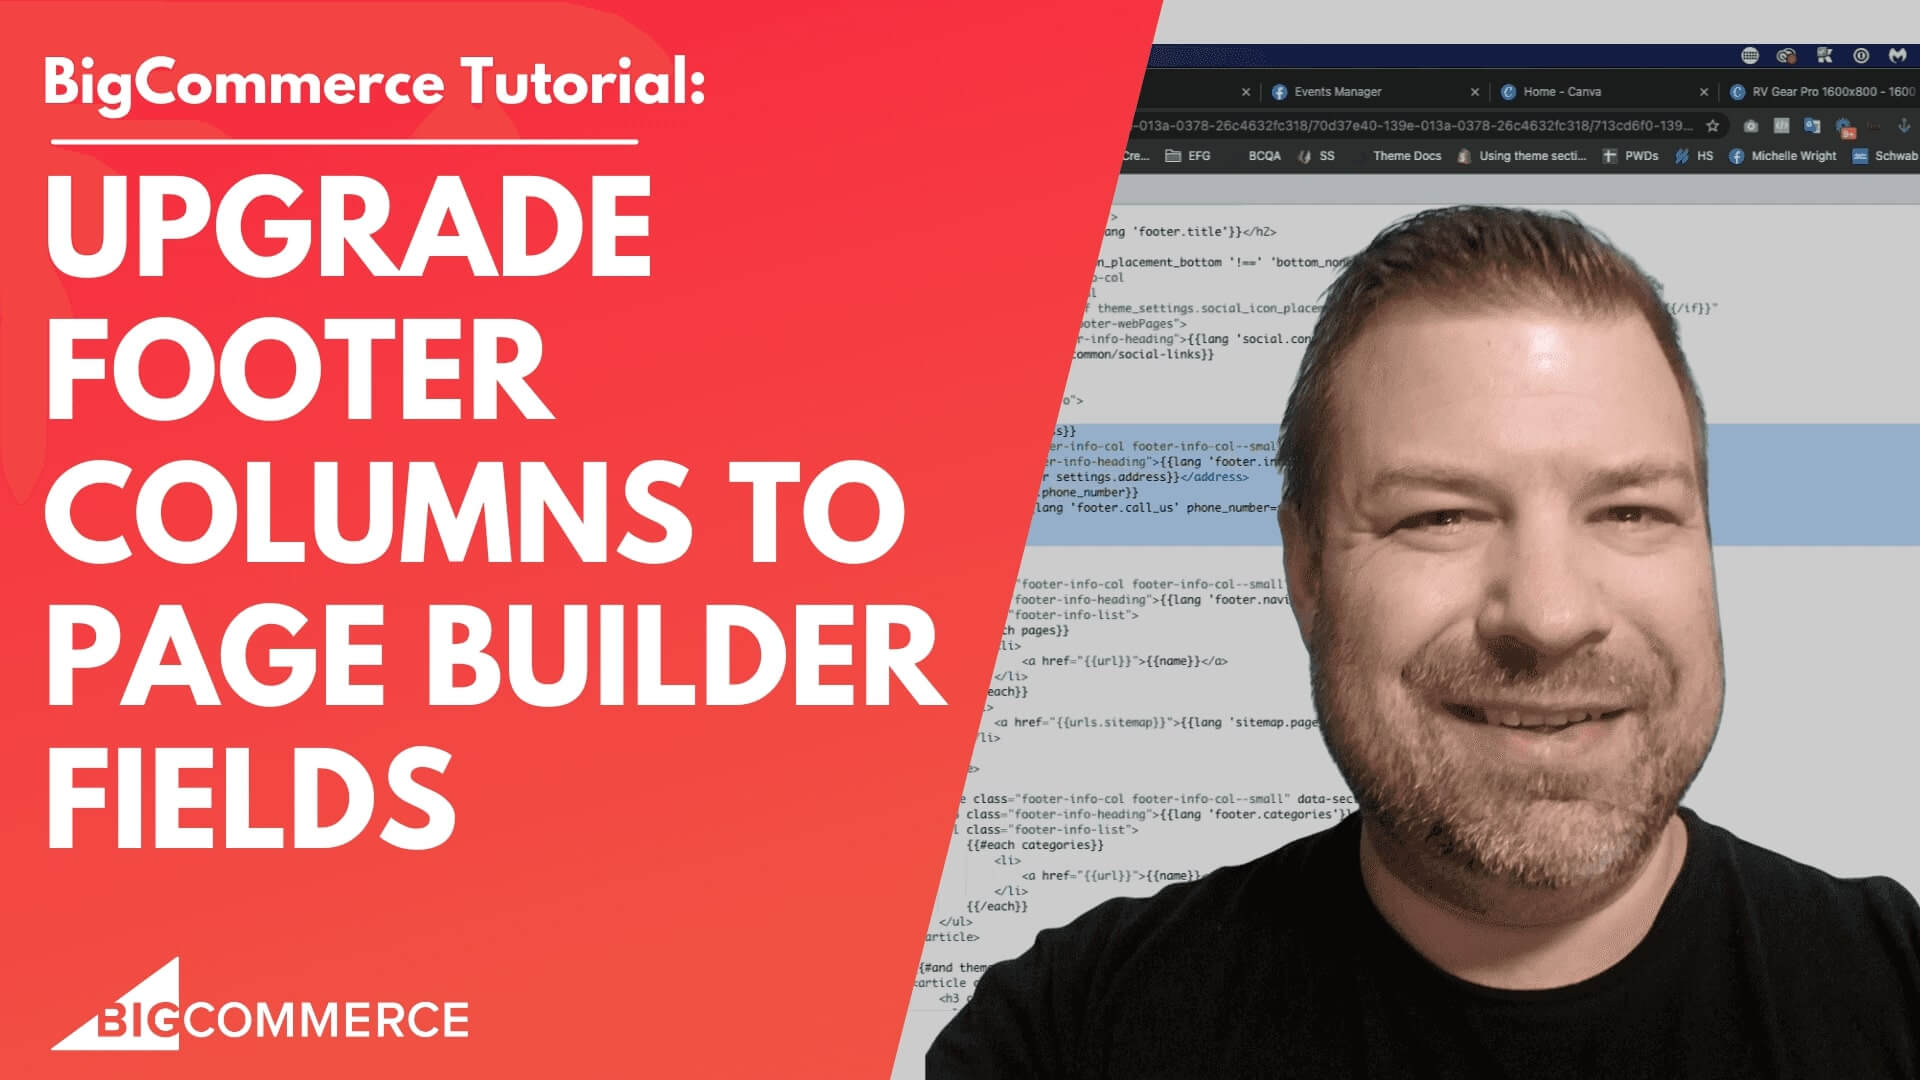
flitter templates, components, templates, components common footer footer dot HTML.
And this will come up, you'll see a couple of different things here. First of all, you have this like banners bottom thing, a problem not even using that. And then we get straight into the footer. And within the footer, we have this container. And then we start having all these things that say, Article footer INFO call, footer INFO call, and footer INFO call. So you want to find out first of all, which one of these is it that you're trying to edit? Right? So I know for sure, this one that says categories is one that I'm going to want to edit. So what I'm going to do is within this article, which is basically that whole column that is the categories.
Alright, I'm going to come in here, and right under where it says this h3, which is the footer heading, I'm going to insert this snippet of code that says bracket, bracket, bracket, region, space name equals, and then in quotation marks, has the name that I'm trying to have a region that I'm putting in here. So I'm going to call this footer, underline categories.
Because I'm replacing the categories, column content with this region, right? Now, there's a bit that comes after it dash dash global, you need that because that means that any page that this shows up on it should display the data and your footer shows up on every page. So any changes that you make to regenize, or widget eyes, the footer needs to have this dash dash global wherever you play in a new region. So region space name equals whatever you want, use underlines instead of dashes in your name. And then dash dash global makes it a global region.
So what we're going to do initially is we're just going to put these regions in, and then we're going to put the content and then we're going to come back and remove the content that was there. So this is one that I want to do. I want to I'm going to go ahead and copy this code that I put in here. And I'm going to come down to this next region, which is clearly where it's displaying the brands and I want to.
I'm going to replace that column as well. So I'm going to call that one footer underline brands dash dash global and the reason that we have to do that is we can't, well, we don't want to use the same region name, because then any content that you put in this region would also show where that region shows up again here, right, so you'd end up having the same, the same content and two different categories, which would look kind of dough. So that is this column and this column.
So now we just kind of find where the Navigate column content is. And it's probably up here where it says navigate. So right underneath that h3 And we come up here, and I'm going to call this one footer underlied. Navigate. Alright,
so let's save and apply the file. So all we've done up until this point is just add regions and regions aren't even going to show on the front end unless there is content put into those regions.
So we just want the regions to show up so that we can put content in it.
And I'm going to leave this stencil file open in this tab, because we're going to come back to it and thus, this will just leave it already open to footer dot HTML. Alright, so what we're going to do next, we're going to come back to a different tab where we can see the back end.
And we're going to click customize to go into our theme. And now because we put those regions in there, they should show up in the theme editor or the customizer. So if we scroll down, sweet, we see three beautiful, ugly purple blocks. So because these are purple, it means that they're global regions just like this.
And unlike this one, any content you put in this one, because it's blue, is not going to be global, meaning that the content will only show on that one individual page, right? But we want again, we want anything that we put in these footer columns to be the same across all pages. So we want this to look purple. If it doesn't look purple, you need to go back and put in the dash dash global, because that's what makes it purple, and therefore global.
Alright, so if we scroll down here in the sidebar, we're going to see some custom widgets here. And these are, these have been pushed in from the Page Builder widgets app. And if you recall, at the beginning of this video, I showed you guys how and where to push in the custom menu widget, which is right here. So this custom menu, unfortunately, Bigcommerce won't let us have custom icons yet. Maybe in the future, maybe by the time you see this, if it doesn't look like a Rubik's cube or a cube root block.
If you're as old as me, then maybe they fix that. But here's what we want to do at the moment is we want to take this custom menu. And you can see when I hover over it says custom menu dash PB W, which is page builder widgets, we're going to just drag that in here. That's it, that's all we're going to do. And you can see that it went ahead and put some sample links in here.
I'm going to fix something right away. Because this drives me nuts, which is this little bit of spacing, you can see how it looks kind of like it's indented. And that's because when you put a widget in it, let's see, here's the widget that we put in custom menu, PB W, it goes in a column that columns in a layout, that layout is in the region, right. But if we go into the column right above it, you can see that it's got some padding on the left and right, so I just, I just zero those out. Something that doesn't affect my styling, basically.
Now, you can see that the styling on this is quite a bit different than the text that was there. And it kind of sticks out like a sore thumb. So we're going to want to style this a little bit. So let's go back into the widget, which we can do by hitting it from the Layers menu, or we can just click back into by clicking on here somewhere.
And you can see that there's three different links. They're all just like default links right now. But we want to make these Not so loud as they are. So let's click into the three dots that are up here and then go into settings for this widget. Now we can say that these are horizontal legs, which actually won't do anything because there's not enough horizontal space to do it.
But we can go in here and let's shrink the size down, I'm going to put them as 16 pixels, because I know that's what Google likes, even though I think they're the theme is 14 by default, I'm going to put them up to 16. And you can see the default way to set to bold, so let's change that to normal. And we can change the text color I guess if we want.
So let's just make them a little bit less loud. Let's select this one, text color on hover. Let's just leave it black, right? And then we can come in here to spacing and say okay, there's a bunch of spacing in here. Let's get rid of at least the top bottom and left, right, because I want to cinch this up to the left of the column.
So I'm also going to get rid of the margin and we get rid of top the right and the left. And so now you can see it's cinched up pretty good, which is nice to get rid of the right here too. So the only thing I'm leaving actually is actually heck out match just yeah, let's just leave the five because that looks kind of nice. So let's, let's decrease it to three. All right, I'm digressing. There's a couple other things you can do like, you know, background background and hover all that kind of stuff. Oops, sorry.
You gotta be careful with your, with your mouse wheel. Because if you're, if you're clicked into one of these numbers, then the mouse wheel will ratchet that up and down, like you saw here just a second ago, we could have border, but we don't really want any border in these links. So you know, this looks pretty good, actually. Let's just do it like that.
Alright, so what we're going to do, now we have the style, let's go ahead and click back out. And then let's actually make these links what they should be, right. So we could say about us, is the first one, you can see we're editing link one, which is the top one. And let's say that goes to slash about Dash us wouldn't click over to go to link to or we can just click the link to here, up up here. So let's say this one is contact us. And that goes to contact.
Let's edit the third one, which is going to be blog. Let's say that goes to blog. Now you can see I'm just starting with the slash after the domain, you can include the whole domain, if you want to, it's not going to make a huge difference, because this is just going to link to that same page within the context of the site that we're currently on.
And you can also Like if if one of these is an external link, you can say open a new tab. But if these are all internal links, and you don't really have to do that. So there's one more that we didn't do, which is Sitemaps, I'm going to click the plus up here, which gives us a fourth link.
And I'm going to say sitemap, and that goes to sitemap dot php, let's say or think it's like, maybe it's just sitemap, all right, we'll just leave it like that. They you know, the exact links here don't really matter. I'm just doing this so that you guys can kind of see how to enter this. And so that you can see that you can totally control these with this custom menu widget, you can also like drag them up and down if you want to reorder them.
So it's a really nice tool. And again, this is one of the widgets on the free side of the plugin, so it doesn't even cost you anything to get this. Alright. So now we need to do the same thing for the other ones. And I'm gonna show you a hack here. Because if we just drag another custom menu widget in there, you can see it doesn't have the same styling.
And then you're gonna say, Well, now I gotta restyle every one. And that's true, unless you do my little hack, which is this. So if we have this custom menu widget already styled already nice, we can, first of all, I mean, sorry, did the wrong thing, we can copy this. And this.
So this creates a second version of it within the context of that one widget field. And then what we can do is we can make sure that there's a layout. So I'm gonna just drag a layout and make it one column. And so now there is a layout for sure in there, I'm gonna delete the second one.
So there's layout there. And we're gonna do the same thing over here, too. So there's a layout and each one of these right, so here's what I'm going to do, I'm going to click into this one, then we'll click the Layers menu. That takes me to the layers and took me to the wrong one. But you can see that here, there's this layer, where I have the footer navigate, I have the layout, have one column, and then I have two page builder widgets in there.
And you can see that there is a little handle bar right next to this, right. So what we can do is we can actually drag it can do it. Now I got to expand this. So I can see the column. And I can drag this one, that's the duplicate into the column. And then I just moved it into that layer, right. Now I could do the same thing again, which is I'm going to duplicate that.
I'm going to say this brands column over here, I'm going to just drag the duplicate into that column. Alright, so now I have one in each, I do need to go into each of the columns, that that widget is there to get rid of that padding, so that it looks better.
And let's say don't need to do that here too. Yep, to do.
All right. So now we have widgets in each of the columns. We can come into this categories one, and we're only trying to get three columns in there. So I'm going to delete the fourth link.
And you can just come in here and click into link one main cat, you know, link it to whatever. Item two to fish and plant care and blah, blah, blah. So you can see basically what we're doing is we're just rebuilding the
exact links that we want, right, because we want these to be fully dynamic and fully controllable.
And so once you're done building your links, you'll end up with basically a duplicate of the items that are in each of these columns, right, except for the top one is going to be the one that you can fully control because it's widget based. So what I'm gonna do, I'm going to click publish.
And it does take a minute, but if we refresh on the front end, you should be able to see after it's refreshed, you should be able to see all of the extra links that we put in there.
There it is. Alright, so we have all of our links, you can see I didn't actually play with the background, but there is a little background thing that you can turn off if you don't like it. But you know, that's kind of like a little bit of extra nicety. So we have all of our new links that we want to get that we want to save. Now we just want to get rid of the original ones that were put in there that we're basically replacing, right, so we're gonna go back to our stencil file editor tab that we left open a while ago. And we're going to go to each of the sections, and you can comment it out, just like this.
That whole UL that whole unordered list. So we should end up with just the h3, and just the region, right, and for each of those three columns. So let's do it right here to for the brand section.
You're gonna do a lot of coding, I recommend checking out my video about how to do stencil local, it's really awesome.
And it's not as slow as doing things in the theme editor. But it is 100% more coding. Alright, so if we go back to the front end, refresh. Now you can see we only have our completely controllable widget oriented columns here for each of these and the footer. And now you're in control. Hopefully, you guys found this helpful. And if you did, hit the like button, and be sure to join our community of stores that join ecommerce growth.com. And you know if you guys have questions, leave me a comment. I'm here to help you guys and I post videos every week. You guys need help hit me up at Epic design labs.com And thank you so much.