
Jan 14, 2023
Getting Started with Product Images on BigCommerce
Hey there, are you looking to add product images to your big commerce store? In this video, I'm going to show you just how to do that. And some considerations you may not have thought about. My name is Kal. I'm a developer store owner. And I run the E commerce growth community for store owners just like you and me. And every week I post more ecommerce videos. So if you find this one helpful, subscribe, it hit the bell. Let's get going. All right, I'm going to share my screen. And I'm going to show you guys a couple things here. First off, I have a test product setup.
And before I show you guys how to how to add your products, I think we just need to talk about aspect ratios for just a minute, I would be neglect. If I didn't tell you guys explicitly, make sure all of your product images in your whole store follow the same aspect ratio, what is aspect ratio is the ratio of the width of the image to the height of the image. So if it's a square, it's one to one, if it's not a square, it's something else to something else. 90% of the stores out there should just use square images, it's the easiest to remember, it looks consistently good on all devices.
If you do have a taller product and 100% of your products are tall, maybe you want something a little taller or for getting artistic. There's not that many times where I would recommend a wider image because it's just going to look not great on mobile. However, if you were selling something like maybe shoes, and you're only selling shoes, never socks, never shoe laces. And you know, maybe maybe there's a case to be made for a wider image.
But nine times out of 10, maybe more, you should just be using a square. And let me show you an easy way to do this is to use canva.com. There's lots of tutorials out there, I'm not going to go over it too in depth. But the nice thing about Canva is you can create a template and you can say this template is 2000 by 2000. And then any image that you add on here is always going to follow the same aspect ratio.
If you have a paid account, which is extremely cheap, they will even image compress it for you. And you know, it's a great program. So I've just set up this, this, this example, where I've just dragged in a picture of a water bottle I found on one of their free images. Obviously, with your real products, you should be using photographs that you've taken or that somebody has taken instead of fake ones that are you know, that you find on the in the clip art or whatever.
But just for the for the sake of this video, I've just picked a image here with a white background of water bottle. And I picked a lifestyle image of a water bottle. I know it's not the same one. So let's just pretend like it is for the sake of the video.
And I just want to show you guys kind of the concept of white background versus not white background. Typically, you want to have a white ground and a white background photo of everything that you are selling, it's usually going to work out the best as your main image on your product page. Also, if you end up selling on other marketplaces like Amazon, Amazon is going to require you to have a white background in order to list so you might as well just make sure that your white background photo period.
Now you don't have to use Canva, you could totally use Photoshop or whatever you're comfortable with. I just wanted to show you that it is as easy as just like literally dragging in an image like I could just drag this in here. And this could be straight off of your phone, and then just size it to wherever I want, just like that. And then when I download this, it's going to automatically be scaled down to exactly that 2000 by 2000 aspect ratio that I chose initially.
I'm going to delete that because I didn't want that in there just kind of showing you how easy it is to drag images in here and size them. And so I'm going to take these two images. And I'm just going to move my little previewer here and say that this is going to be a JPEG that I'm downloading.
And you can see that because I have the Pro account, which is only like five, eight or 10 bucks a month or something I don't know. It's very cheap, but I can decrease the quality down to 80%. And this is going to compress the image make the file sizes smaller without you know, actually losing anything in the process. I have a bunch of images in here. So I'm just gonna choose the first two
and click download and it'll download that here in just a second. Alright, there's pictures of me. All right, so I have these two images just like that. I'm going to drag them over onto my other screen so they're not in the way and when come back to my big commerce store. Now I will already set up a test product. If you are in still in the middle of setting up your test products, you can go to Products view and click Add.
I've already set one up, and I basically have the name, the price. And a, I put it in the apparel category. And I've just put, you know, some basic text there. Now, if I scroll down to the images, if your first of all if your product entry screen doesn't look like this, and then it probably has tabs across the top, which means that you're in the v2 UI.
This is the v3 UI. But for the purposes of images, it works the same way. So you're going to either scroll down or click on the images and video in the sidebar, or you're going to click on the images tab at the top. And that's going to get you to a screen that looks like this now says you can drag and drop images to upload them.
And so I'm going to do just that, I'm going to just drag both of these in here. And you can see that the images are here, if I click Save right now, then I can click into the product. And you'll see that my images are already live, right. But there's a couple things I need to do differently.
First of all, you know, I want this white background image to be my main image on the product page. So let's do that. First, all I have to do to do that is to grab this little handlebar thing, little six dots are calling that a handlebar, you can see here, your mouse indicator changes to a hand, I think you guys can see that on my screen, and then drag it up. So whatever is in the first position here is going to be the first image. And so if I come back here to the front end, and click refresh, and you'll see that now the white background image is the first one, right.
And you know, if you had three or four or five, you can just keep on going with them down. And in your alternative thumbnails, this one's gonna be the first one, this one's gonna be the second one, next one's gonna be the third one, etc, etc. So you can manually or by by dragging them up or down. If you need to delete one, because you got too many, you can hit the little delete button here. There is something else that we need to do, which is we need to add a description for each one.
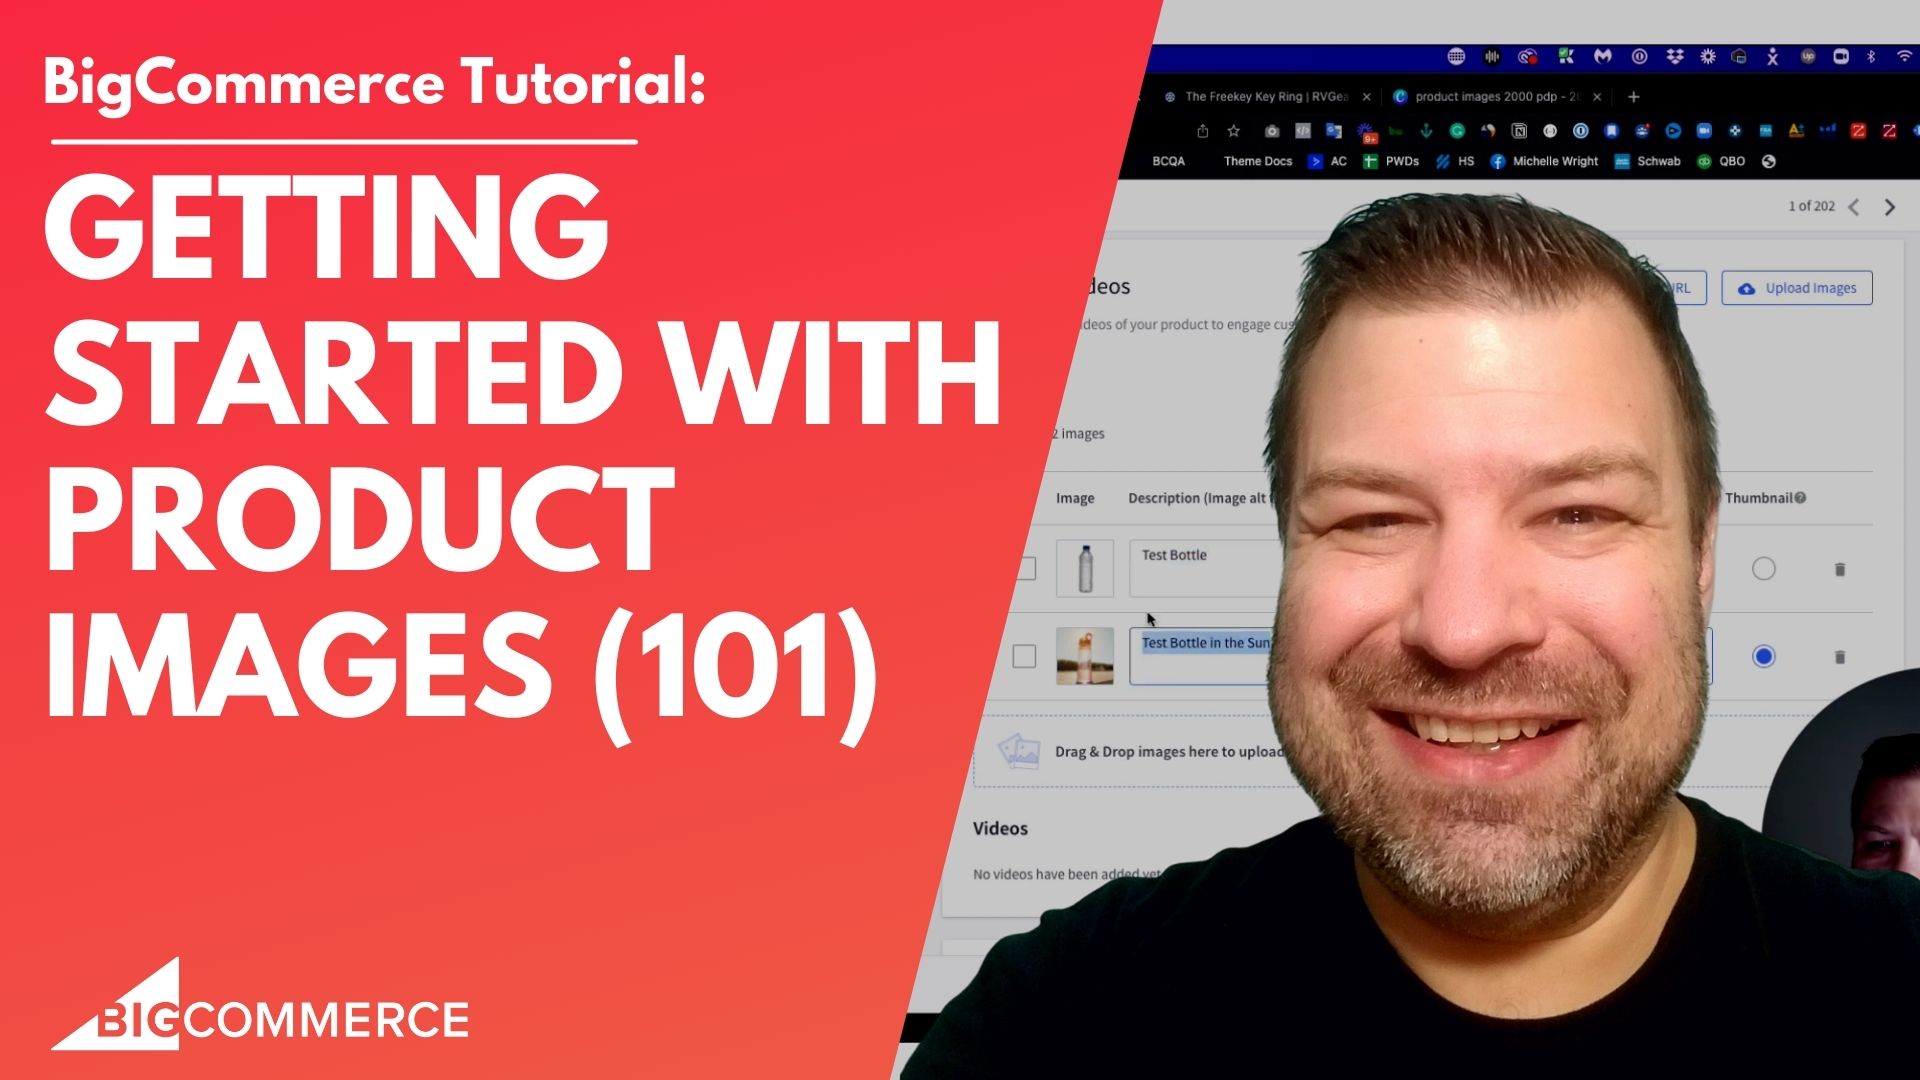
So I'm going to just write test bottle test bottle in this Sunday. Now,
these aren't, you know, great SEO, because I'm not really targeting any keywords except for maybe bottle in this case. But it is important to fill these in otherwise, you have images on the page that, you know, when Google, you know checks out your page, they're not going to know what these images are.
So this is this is going to put your image alt text on the page. And if you have, you know somebody that does SEO, scan your site or do an audit of your site, they're going to come back with a whole bunch of things to fix if you don't put this stuff in here, because you know, it's really important for indexing, it's really important for accessibility for you to tell Google in the world what these images are about. So imagine somebody that is visually impaired come to your site, and they can't really see what the image is, their you know, their readers will tell them what the image is by reading this out.
So you know, bigger to the world fill this in for every product that you have. So that's one thing that we needed to do is we didn't just fill these in. The next thing that we need to do is we need to talk about the product parts, right. So I'm just going to leave it like this here for a second. And then I'm going to open up the apparel category so we can see this product in the apparel category. Alright, so here it is. Here's my white background image.
Here's a bunch of cool camp relay hats. Welcome to come buy one. And but let's say I don't want this white background image to be my category image. And you can see that, let's see, did I do that in any of these cards?
No, I didn't. But let's say let's say you have a scenario where you don't actually want that same white background image to be your product card image. Maybe you have like a gray background image or lifestyle image that you want to be authoritative for wherever that product shows up in a product card. These are called product cards whenever they show up in a feat. So examples of product cards would be on your category pages. If it shows up in a related products, grid on a product page, if it shows up on your homepage, like in your you know, feature featured products list or whatever.
There's quite a few scenarios where it could show up in a product card scenario. And you don't have to have the same image on your product card for that product. And I see people all the time. Do this where you know for a certain portion of it, maybe they'll show a lifestyle image or maybe for all of them they want to show gray background image on cards by white background image on the product page.
So it's up to you what you want. But I'm going to show you how to do it if you want it different. So number one, if I just want it to be the same, I want the main image on the product page to be first and I want the thumbnail radio buttons set here. If I want this one to be my product card image, that I'm going to just change this radio button here to pick the one that I want authoritative for the product cards. So if I click OK, there, and I come back here and refresh. Now you'll see that the lifestyle image showed up here, which was image number two on the product page. And if I click into the product, then it's still showing the white background image right there. I can't tell you how many people I've had to show that to how many people didn't realize that, you know, big commerce will do this natively right out of the box. And so you know, you can you can make your store quite a bit cooler, if you want to up your photo game and just know that it's already built, you know, right there by default, which is really, really nice. Let's see, is there anything else to go over?
You know, Bigcommerce will size down your images, you don't have to worry about really the size, I do suggest people make it at least, you know, 2000 by 2000. So that, you know if you have a max resolution image that it'll be zoomable is that a word. And so here's what I'm talking about by zoomable, right, this box right here on this theme is probably I'm guessing 500 by 500 Watt show it.
But again, I loaded this in at 2000 by 2000. And so the reason is, when I zoom over it, the Zoom is showing you that 2000 by 2000 pixel image. And so that's how you get the zoom effect. So if I loaded this in at 500 by 500, and it's in a 500 by 500 box, then when I hover over it to zoom, there wouldn't be anything to zoom, because there's no additional detail. So zoom doesn't actually like it doesn't stretch the picture out, it shows you the on shrunk version of it. And so that's why having that that max resolution image in there is really important is to get the zoom right and look out crisp this looks.
You know, you know, when I loaded this at 2000 by 2000. Now, most of the Zoom windows on big commerce themes, just so you know, if you don't load the image at twice or twice the size of the of the box that it's going to go into that it won't zoom at all. So let's say you have a 500 by 500 box, and you load a 700 by several 100 image, most of the themes are just not going to zoom in at all. So you do want to make sure that it's at least twice the size of the box that is going into so if it's 500 by 500, you want it to be at least 1000 by 1000, the you know the pictures that you load. But again, I would suggest maybe 2000 by 2000. Because I think that's kind of a sweet spot, detail wise. You know, if you go crazy big like say you have a professional photographer take, you know super high res images for you in there 5000 by 5000. I mean, you, you're probably going to be zooming in too much at that point.
And you know, you're looking at a really big file size on the page for the sake of zoom. And 2000 by 2000 is gonna be a much smaller file size, and still totally detailed enough to make your product look awesome on the product pages. I go in the other one, you can see that yeah, it zooms in awesome too. So I think I've covered just about everything, you know, Photoshop or Canva to edit them 2000 by 2000 is a really good size, make sure they're all the same aspect ratio, preferably squared, you're gonna save yourself tons of time doing it right the first time. If you if your images are all over the place right now, you know, at some point, you're going to want to redo them. So when you get around to redoing them, just redo them right redo them all the way square redo them all up 2000 by 2000. And you can use the thumbnail to select a different image for the product cards are right I think that just about covers it.
Hopefully, you guys found this helpful. And if you did find it helpful hit the like button. Leave me a comment. Let me know if you guys have any questions. Let me know if there's something else you guys want to learn.
You know, I make these videos every week. So whatever you guys leave me as a comment might be what I shoot next week. If you're Oh yeah, by the way, join our free community joinecommercegrowth.com. And if you need a developer hit me up at Epic Design Labs And let's chat about your project. Alright, thanks so much and I'll see you the next one.